Keeping the waste water tank in your motorhome odour-free
6 min. reading time

Content
- Why does the waste water tank in a motorhome need to be cleaned?
- How often should the waste water tanks in a campervan be cleaned?
- How long does it take to clean the waste water tank?
- What should you bear in mind before cleaning the waste water tank?
- Step by step: How to clean the waste water tank in your motorhome
- Which cleaning products should be used for the motorhome waste water tank?
- How can you minimise the build-up of odours and limescale in everyday life?
- FAQ
Key points at a glance
Why does the waste water tank in a motorhome need to be cleaned?
Regular maintenance of the drainage system is essential to prevent the build-up of stubborn grease and soap deposits in the pipes. If these residues are left untreated, this will inevitably lead to the following problems:
- Odours: Stagnant greywater provides an ideal breeding ground for bacteria, leading to foul smells rising up through the drains.
- Biofilm and grease: A greasy film forms on the inside walls of the pipes, acting as a protective layer for germs and potentially obstructing the flow.
- Technical faults: Stubborn deposits can clog the level sensors, causing persistent false readings on the control panel.
How often should the waste water tanks in a campervan be cleaned?
The cleaning frequency depends largely on your travel habits and the outside temperatures. As a general rule, the warmer it is, the faster fermentation processes occur in the tank:
- For regular use: Ideally, clean the tank every 2 to 4 weeks during the camping season.
- For occasional use: A thorough clean after every second or third trip is usually sufficient if you only use your motorhome for short trips.
- At the start of the season: Remove any residue from the period of inactivity before setting off on your first trip.
- Before winter storage in autumn: A thorough clean in autumn prevents dirt from drying out over the winter months.
How long does it take to clean the waste water tank?
It is best to schedule the cleaning so that the cleaner can work for an extended period without you needing to use the water system:
- Active working time: You should allow around 30 to 45 minutes for preparation, filling and final rinsing.
- Dwell time: Depending on the level of soiling, specialised cleaners require between 4 and 6 hours to work effectively.
Important note: To ensure the cleaning process is gentle on the materials, always follow the specific time instructions on the product packaging.
What should you bear in mind before cleaning the waste water tank?
Before you start the actual cleaning, there are a few organisational and safety-related preparations to be made:
- Choose a location: Use official disposal points. Treating the natural environment with respect is paramount when camping: as greywater is contaminated with grease, food waste and chemicals, it must under no circumstances be poured down ordinary street drains or directly into the environment. Suitable options include:
→ Petrol stations: Many offer disposal points where greywater can often be discharged free of charge.
→ Supermarkets: Particularly in countries such as France or Spain, disposal points can be found directly in the car parks of large chains.
→ Campsites & parking areas: These usually also have facilities for proper disposal.
- Safety: Switch off the hot water boiler before starting work to prevent it running dry or damage caused by cleaning agents.
- Have equipment ready: Have gloves and, if necessary, a hose for rinsing ready.
- Material compatibility: Ensure that the chosen cleaner is suitable for plastic tanks and rubber seals.
Step by step: How to clean the waste water tank in your motorhome
Follow these instructions to thoroughly clean your waste water system and remove all residues:
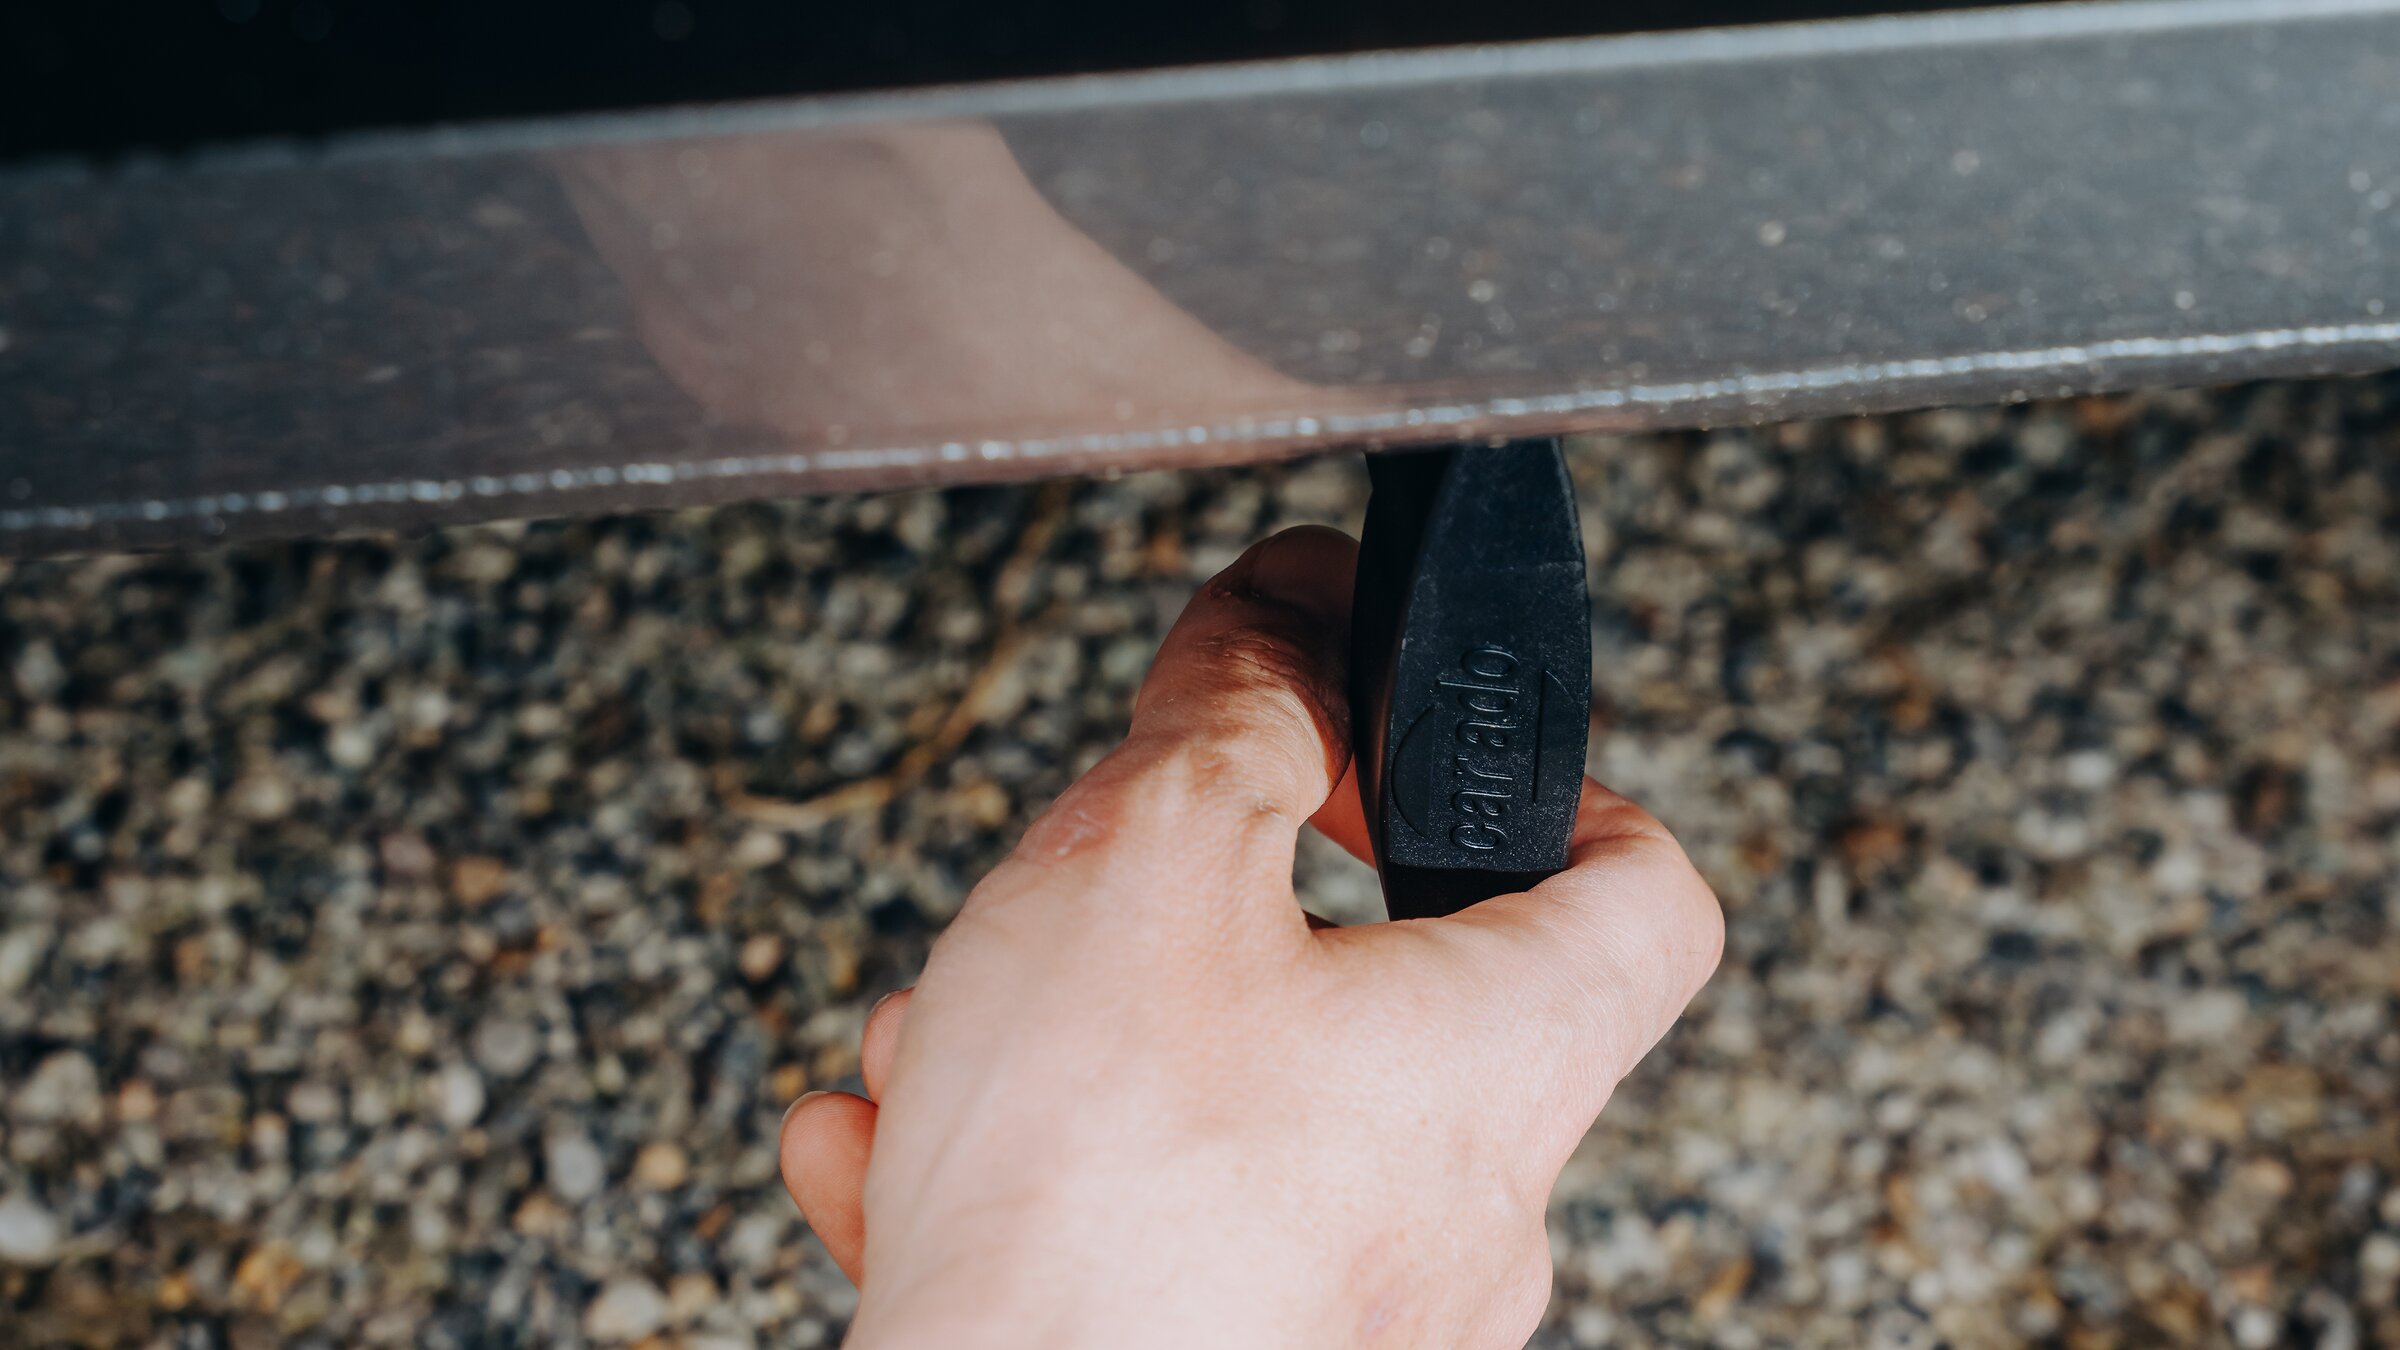
1. Completely empty the system: Drive to an official disposal point and drain all the used grey water from the tank via the drain valve. The greywater drain is usually located on the underside of the vehicle, typically positioned near the rear axle or in the immediate vicinity of the fresh water connection.
Pro tip: To ensure complete drainage without any pools of bacteria, experts recommend a gradient of at least 2% towards the drain tap. This corresponds to a height difference of approximately 2 cm per metre of vehicle length. Use levelling blocks and a spirit level app for precise adjustment, as only a completely emptied tank remains odour-free in the long term.
2. Prepare the cleaning solution: Mix the special waste water tank cleaner in a bucket or watering can, following the manufacturer’s dosage instructions exactly.
Alternative tip: If you are cleaning your fresh water system anyway, you can simply flush the cleaning solution used there into the waste water tank afterwards, rather than disposing of it straight away. This way, you make double use of the cleaning power of the solution and effectively prevent deposits from forming in the greywater tank.
3. Fill via the drains: Pour the prepared mixture into the tank or down the drains in the kitchen, bathroom and shower one after the other, so that the solution also cleans the siphons and pipes.
4. Maintain level sensors: If present, use the inspection hatch on the tank to carefully remove deposits from the metal rods of the sensors using a soft cloth.
5. Allow sufficient contact time: Leave the cleaner to work for at least 4 to 6 hours; for heavy soiling, an overnight treatment is recommended.
6. Optional cleaning drive: A short drive involving bends and braking manoeuvres ensures that the sloshing solution reaches the tank walls and ceiling.
7. Draining and rinsing: Empty the cleaning solution at the disposal point and rinse the entire system several times with clean water until no more residue comes out.
Which cleaning products should be used for the motorhome waste water tank?
Choosing the right product is key to successful cleaning and the longevity of your seals. Here is an overview of the most common options:
- Professional cleaners: These specialist products are often based on highly effective surfactants or chlorine compounds, which are specifically designed to break down stubborn grease and organic deposits. They effectively remove biofilm without causing hoses or rubber seals to become brittle. Another major advantage of specialised camping products is their compatibility with the plastic tanks and probes used.
- Microbiological additives: These modern products rely on natural bacterial cultures that break down organic matter in the tank and neutralise odours, rather than simply masking them.
- Home remedies such as bicarbonate of soda or citric acid: These are excellent for dissolving light limescale deposits or absorbing odours. It is important here to use citric acid only when cold or lukewarm to avoid damage from limescale deposits. Caution is also advised here: many home remedies are not entirely gentle on materials and, if used in the wrong dosage, can damage the sensitive seals or sensors in the tank.
- Unsuitable products: You must avoid using aggressive household cleaners, concentrated vinegar or drain unblockers. These severely damage rubber seals and hoses, causing them to become brittle over time.
Important note: As every water system has its own specific requirements, we recommend that you always seek advice from a specialist camping retailer if you are unsure. There you will find the exact right products for your specific materials. Also, take great care to never mix cleaning agents together to avoid hazardous chemical reactions.
Overview: Suitable cleaning products and their effects
| Type of cleaner | Examples | Suitable for |
|---|---|---|
| Professional cleaners | Chlorine- or oxygen-based Special chemical additives based on highly effective surfactants or chlorine compounds | Thorough disinfection of biofilm, bacteria and powerful removal of grease, soap residues and organic biofilm. These products are precisely tailored to the materials of greywater tanks and provide particularly intensive cleaning. |
| Microbiological additives | Biological cleaners | Environmentally friendly neutralisation of odours and bacterial breakdown. They provide long-lasting protection against the development of new putrefaction processes and are particularly gentle on the environment. |
| Odour neutralisers | Vinegar essence or aggressive odour blockers | Immediate binding of unpleasant gases directly in the tank and in the drains. Provides rapid relief during extreme summer heat and prevents sewer odours from rising into the living space. |
| Home remedies | Natron / Bicarbonate of soda / citric acid | Cost-effective removal of light limescale deposits and neutralisation of faint odours. |
| Not recommended | Aggressive drain cleaners or vinegar | Not suitable for tank cleaning, as they can cause severe damage to sensitive components. |
How can you minimise the build-up of odours and limescale in everyday life?
As well as a thorough clean, small daily routines help to keep the system clean in the long term and extend the intervals between maintenance:
- Filter out solids: Use drain strainers and wipe greasy dishes with a cloth before washing them.
- Prevention with heat: Flush your drains once a week with hot water and a splash of washing-up liquid to keep grease deposits liquid.
- Fill siphons with water: Ensure there is always some water in the siphons, as this acts as a barrier against odours from the tank.
- Short storage times: Empty the tank more frequently in high temperatures to stop fermentation processes.
- Ventilate when not in use: Leave the drain tap and openings open during longer breaks so that the system can dry out.
A clean waste water tank is only half the battle when it comes to a hygienic motorhome. To ensure you can cook, shower and brush your teeth without hesitation whilst on the road, the fresh water system must also be regularly cleaned of germs and biofilm.
Find out in our guide how to ensure maximum water quality with the right care.
Read now: How to clean the water tank in your motorhome properly
FAQ
-
No, the source of the odour is often found in the pipes and traps. The cleaner should therefore always be poured down the drains.
-
Musty odours inside the cabin or a slow-responding fuel gauge on the dashboard are clear warning signs.
-
Rinsing thoroughly with clean water is essential to remove all dissolved particles and cleaning agent residues from the system.


